
Remove the front wheel and the side covers.
By:cpmodem
Removing the fork legs:
Remove the front wheel and the side covers.
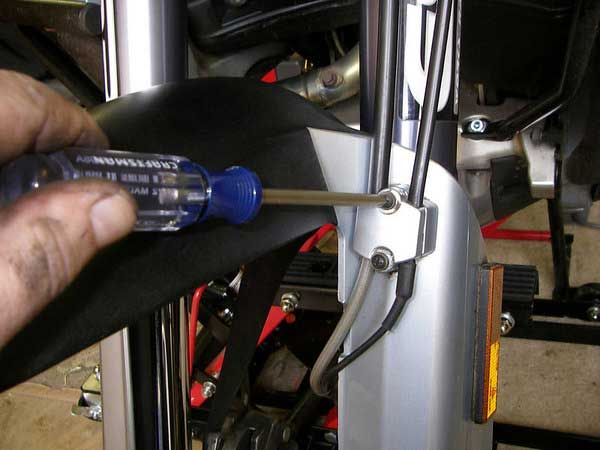
Unscrew the bracket for the brake hose and the speed pickup
cable and remove from the fender.
Remove all fender bolts and then the fender. Unscrew the speed pickup.

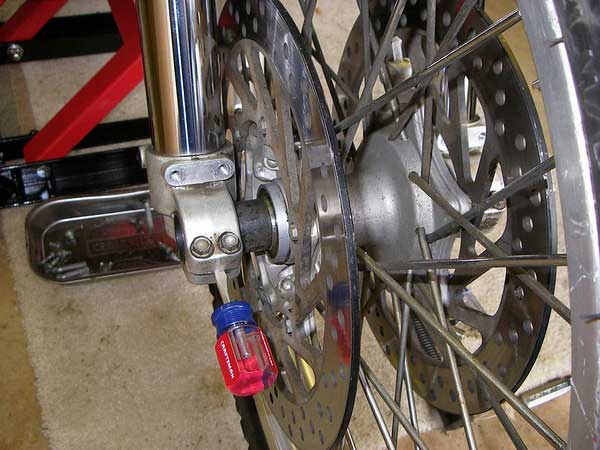
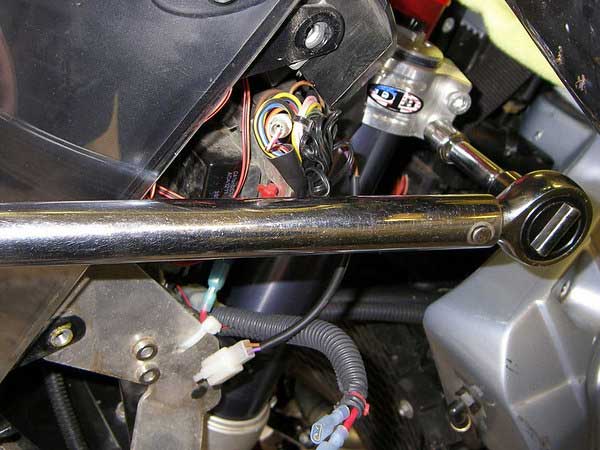
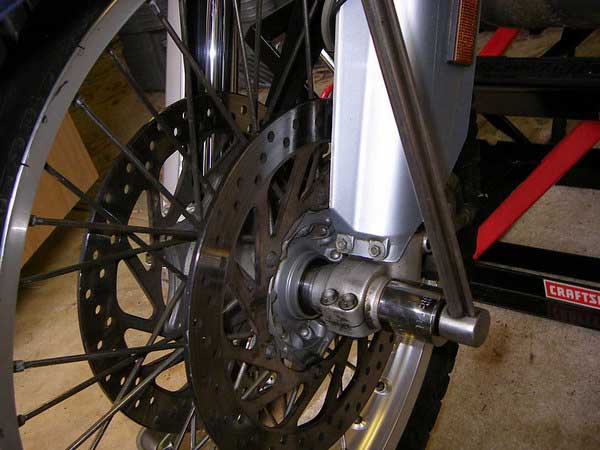
Remove the bolts on both brake calipers. Loosen the clamp bolts on both sides of the bottom and top
triple clamps.
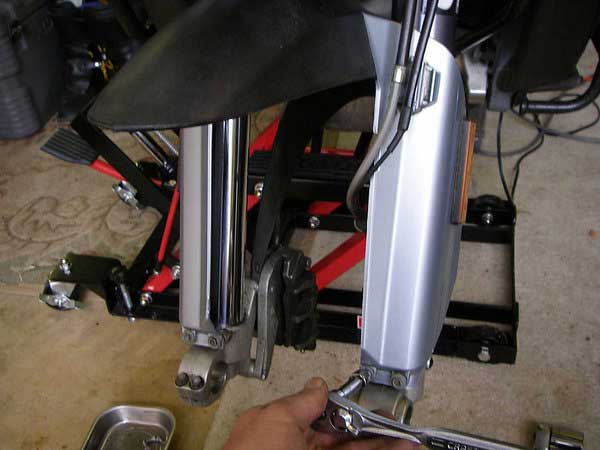
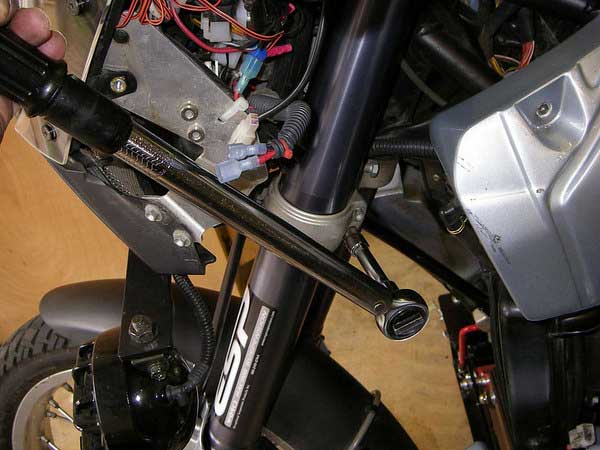
Pull both fork legs down out of the triple clamps.
The new fork legs are installed in the reverse order used to remove:
The upper edge of the fork legs must protrude approx. 5 mm from the
top triple clamp.
Now, follow this next procedure exactly as stated by Bruce Triplett:
"This next step is VERY IMPORTANT. This is the PROPER WAY to install forks. ATTENTION – if improperly installed, the forks can’t work to their full potential. First install the left fork (left is determined as if you were sitting on the bike) into the triple clamps. (A little WD 40 sprayed on the fork tubes will make them slide in easier.) The measurement you took before you removed the forks will allow you to reinstall the left fork at the proper height. VERY IMPORTANT – Torque the pinch bolts to factory specs. Next, install the right fork in the triple clamp at approximately the same height as the left fork and LIGHTLY tighten ONLY ONE of the pinch bolts.
This next step is CRITICAL –install the axle into the forks, grab the axle between the left and right fork, and begin rotating the axle. As you rotate the axle, loosen the triple clamppinch bolts on the right fork and move the right fork up and down until you locate the place where the axle turns most freely.
Now, at this position, torque the triple clamp pinch bolts to factory specs. Install the wheel and brakes, and tighten the axle and/or axle nut. Torque the axle pinch bolts on the LEFT FORK ONLY.
Now, you need to work the forks up and down. The best way is to tie the cycle down in/on your trailer, or ride the cycle SLOWLY up and down the driveway, and pump the front brake level several times, making the forks move deep into the travel. Now you can TORQUE the RIGHT axle pinch bolts."
Tighten the clamp bolts on the top triple clamp to 20 Nm.
Tighten the the
bottom triple clamp to 15 Nm.
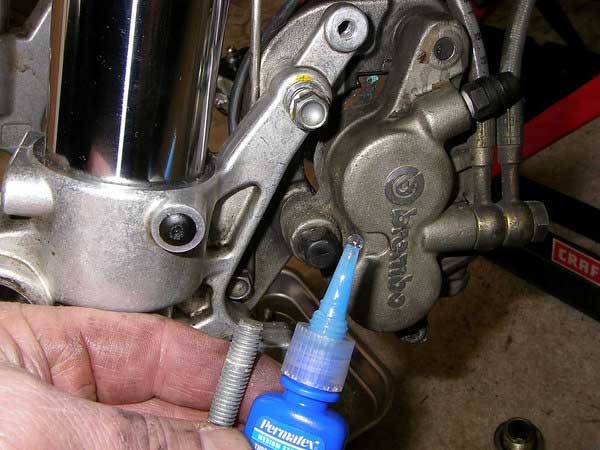
Secure the bolts on the brake calipers with Loctite 243 and tighten
to 25 Nm.

Also secure the screws on the speed pickup with Loctite 243.
Mount the front wheel and torque the pinch bolts to 10Nm and the axle nut to 60Nm.
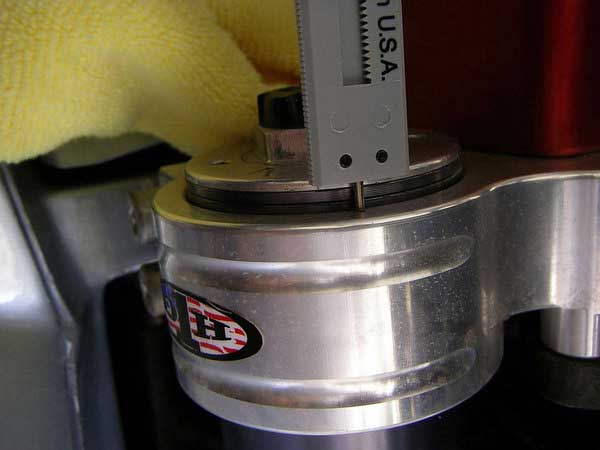
This is the tool I use to adjust the fluid levels in the forks. It is a bit pricey, but if you do as many forks as I do, it is a bargain. It is $100 USD from Race Tech. There are cheaper alternatives, and some work well enough if you only do the occasional fork, but this gem works very fast and is precise. I run my forks levels 120mm from the top with the ESP tuned valving and .52 kg/mm Eibach springs.

This is the recommended way to protect fork legs during transport and/or shipping.