
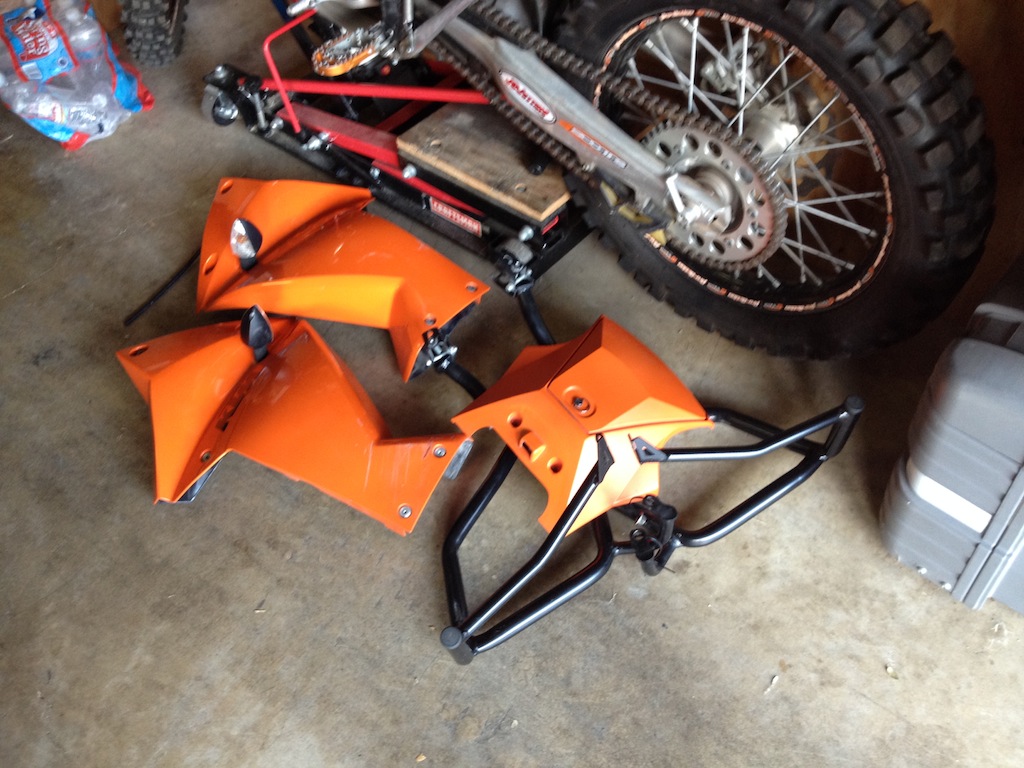
Off with these bits (easy to do, but sometimes not so easy to get back on, but in my case no problem since I have studs for the crash bars and thru bolts for the lower tank mounts).
Next, the tanks need to come off (need an oil change? now's the time). I have an oil drain tube, so I'll do that another time.
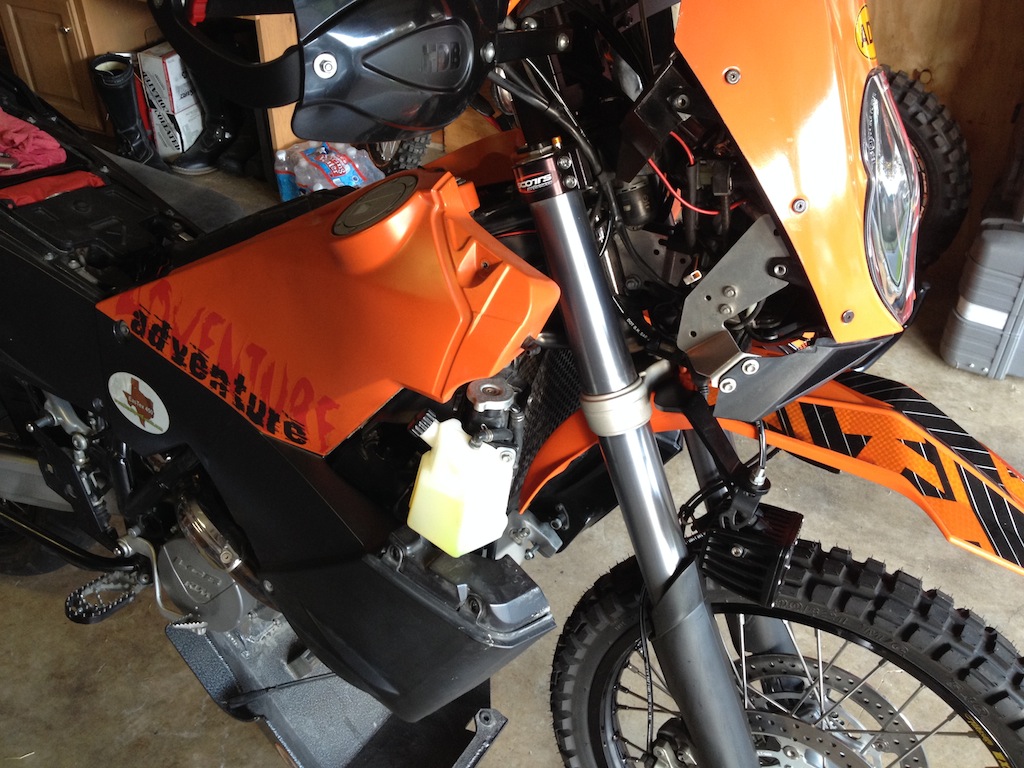
Now that the tanks are off your bike might look like:
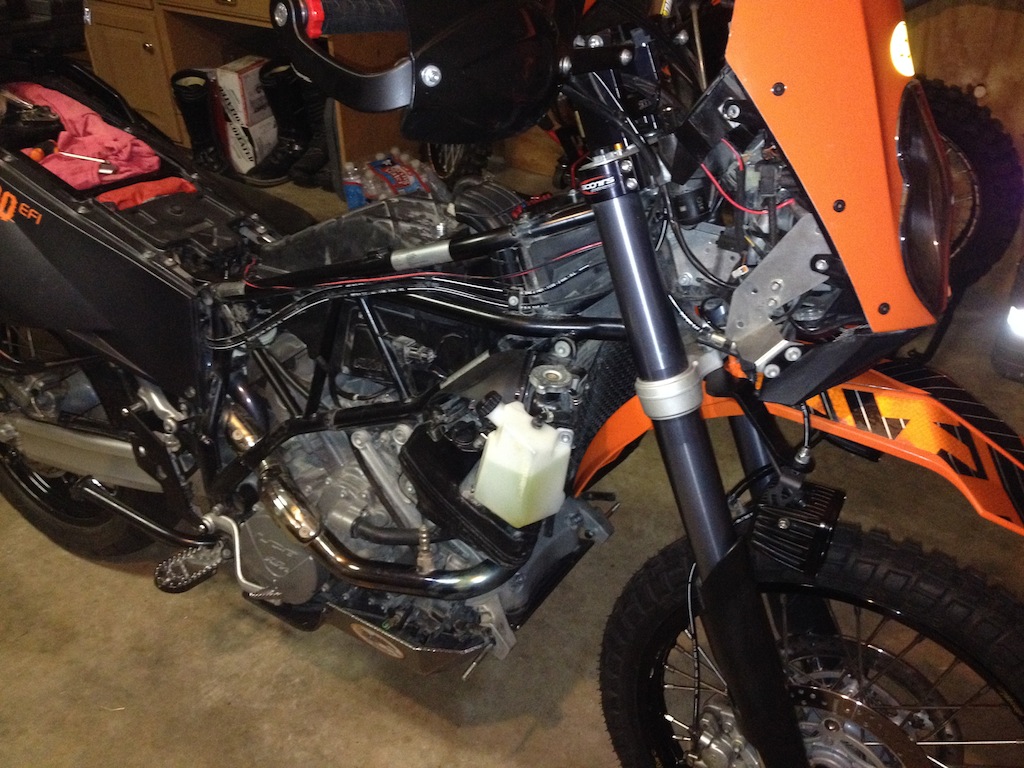
Next you need to remove the snorkel (if you have one) and the air box top, crankcase breather and ambient air temperature sensor (I unscrewed the sensor since you need to install it on the air cleaner base later) giving you something like:
You also have to remove the velocity stacks and paper air filter. You will use the velocity stacks to hold the new filter base plate on later.
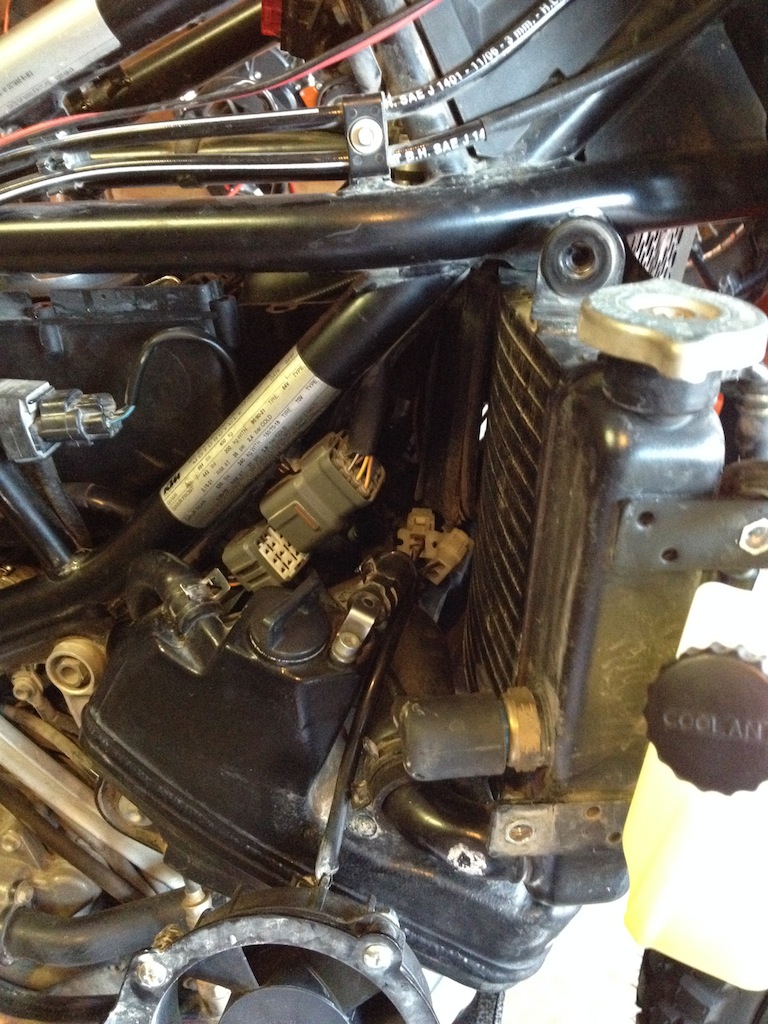
Now you have some fiddly issues to deal with. Take off the air box side covers, loosen the fuel line from the FI fuel rail and release the FI electrical connector on the right side of the frame. This one is always a bitch on my bike. I have to move my second fan and shroud and the radiator catch bottle to loosen the connector.
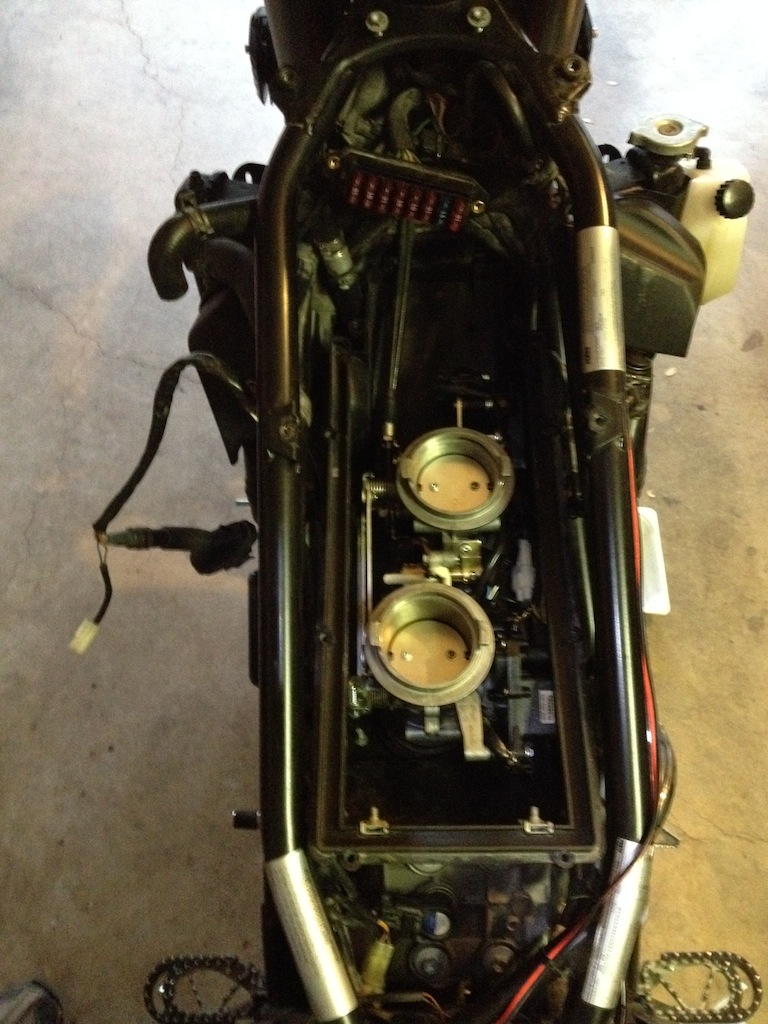
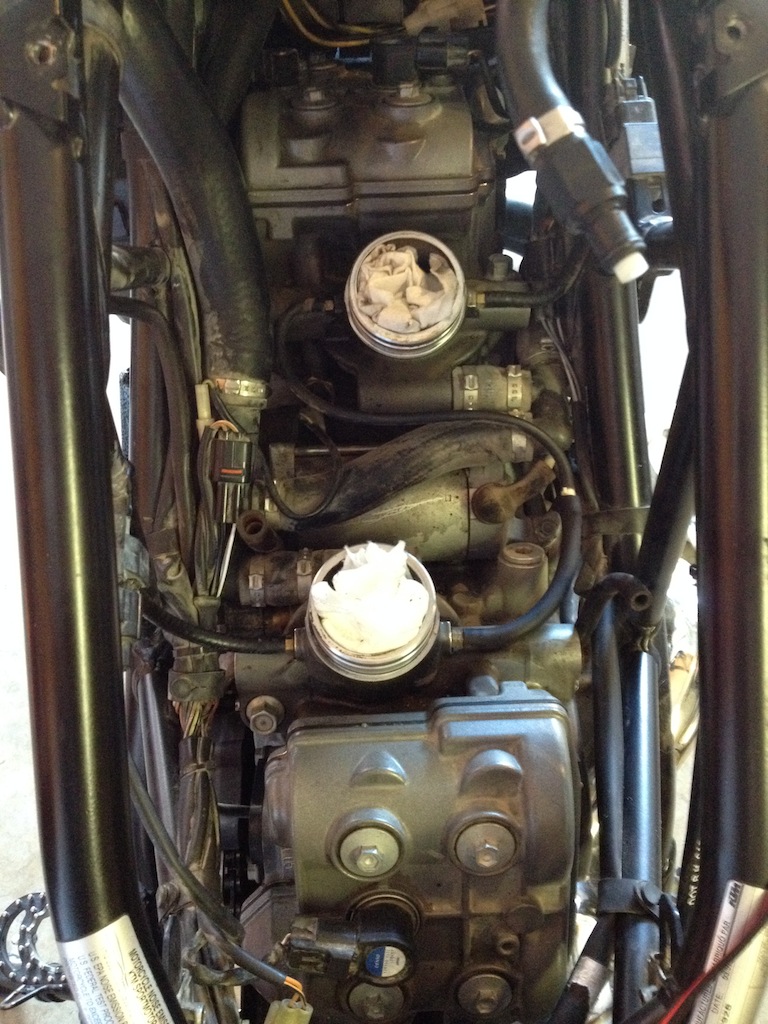
Next loosen the top hose clamp holding both throttle bodies and lift them up and out of the way. I zip tie them to the handlebars. You don't have to disconnect the throttle cables.
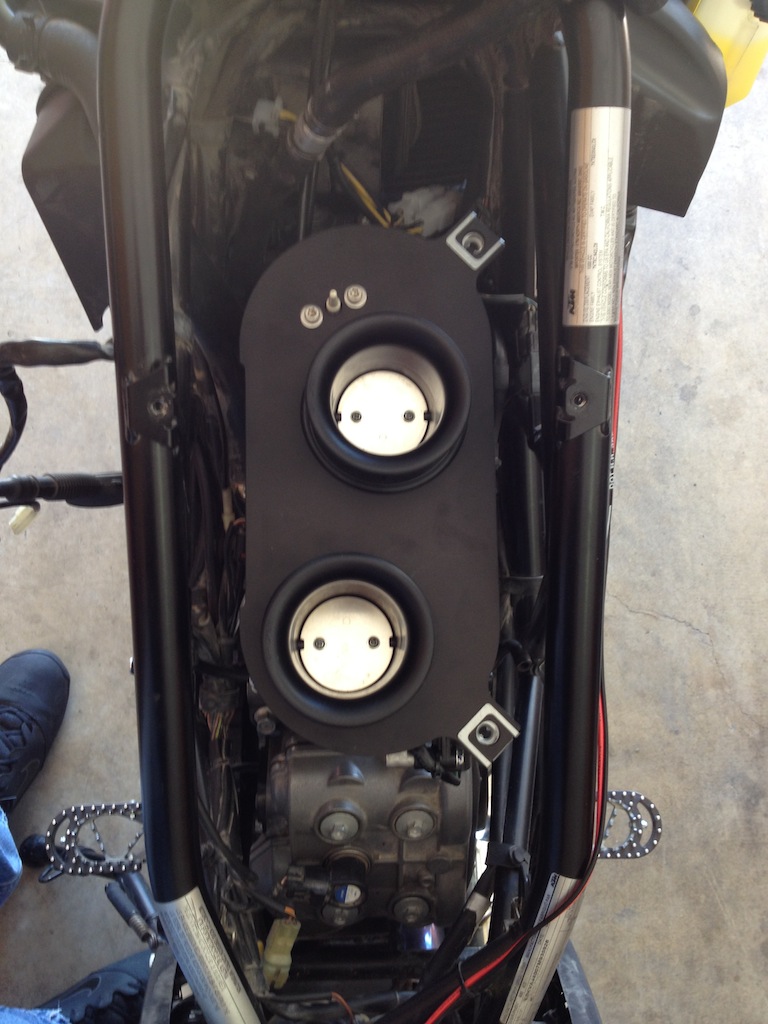
Then you should loosen the bottom clamp for each throttle body boot and remove the boots. Finally, lift the air box bottom up off the intake tubes and your bike might look like:
(Need to check valve clearance? Now's maybe the time. Loosen the radiator mounts and oil tank moving those forward for additional room for the front cylinder.)
Next you can reinstall the throttle body boots, tightening the bottom clamps.
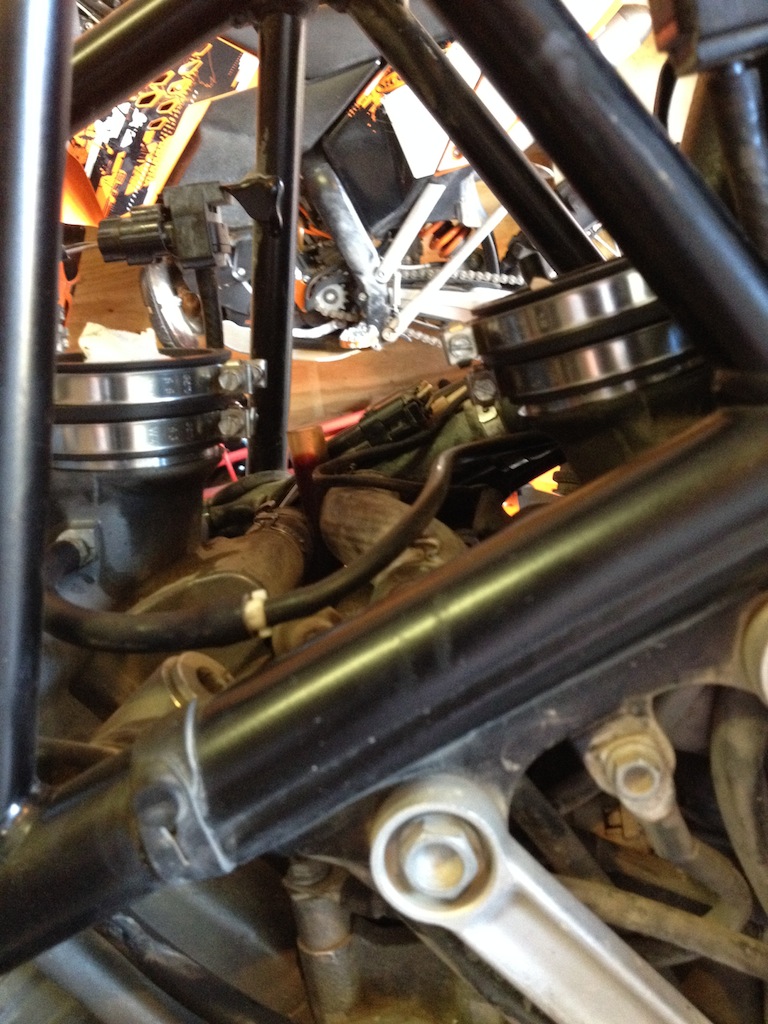
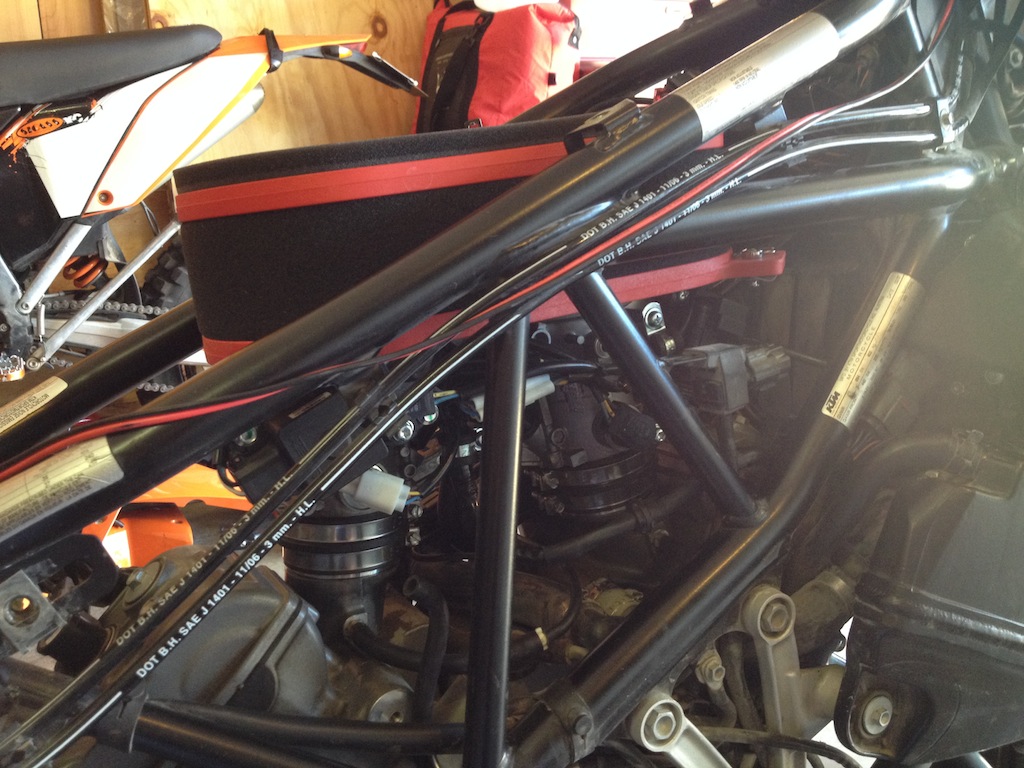
Now you can lower the throttle body assembly back onto the boots and tighten the top clamps. I oriented the clamps so all connections could be accessed from the same side, but this is not necessary since we are not working through a air box side hole anymore.
This is also a good time to check/adjust the throttle cables.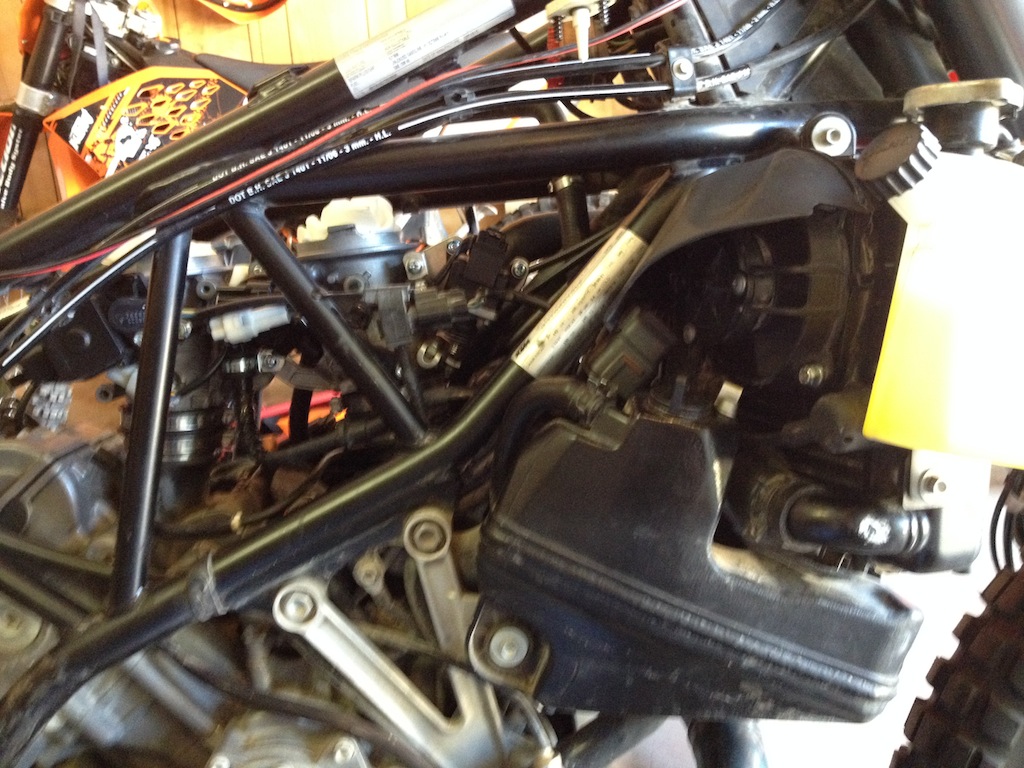
Now you are almost ready for the SW's neat stuff. First install the ambient air temperature sensor in the filter base plate using the supplied hardware. You can now slip the base over the throttle bodies. Note that the Dzus connectors should be on the right and the temp sensor towards the front. The
velocity stacks are used to hold the base plate in place and compress SW's neat rubber rings giving a tight seal and firm attachment of the base plate.
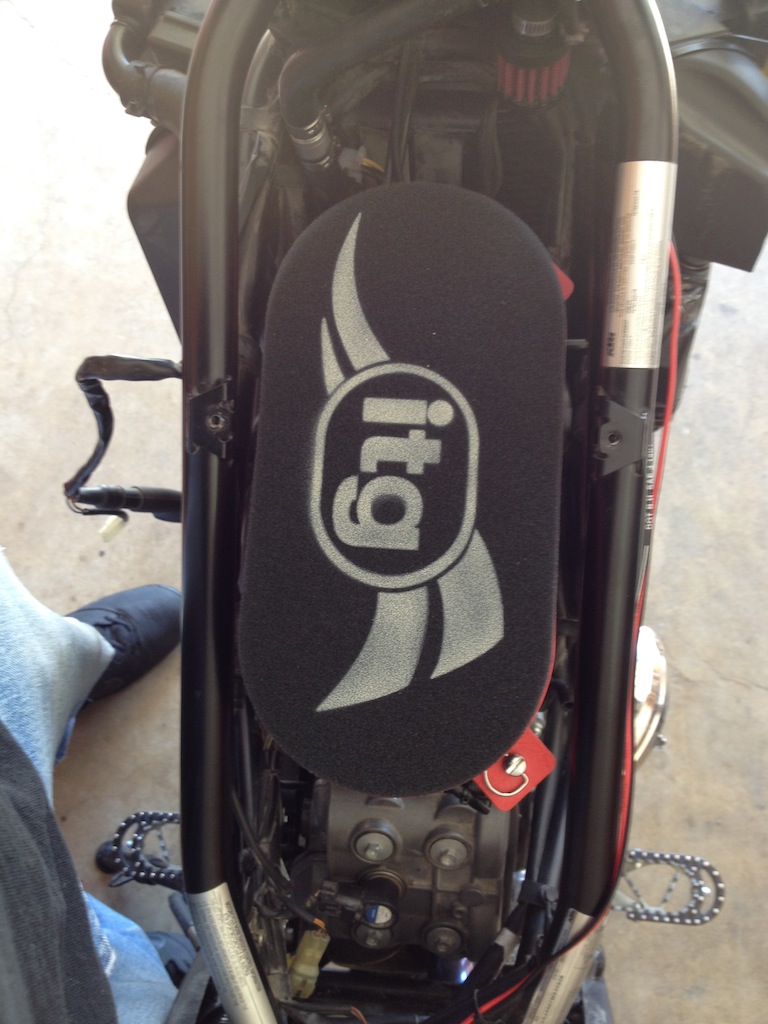
Now you should oil up the filter (I use NoToil, but they say not to use NoToil cleaner - I usually use dish soap or laundry detergent when cleaning my other foam filters) and put a heavy ring of filter oil or grease around the edge of the base plate to insure proper seal. After the filter is in place it might look like:
I used a UNI UP-124 filter on the crankcase breather and zipped it to the frame.
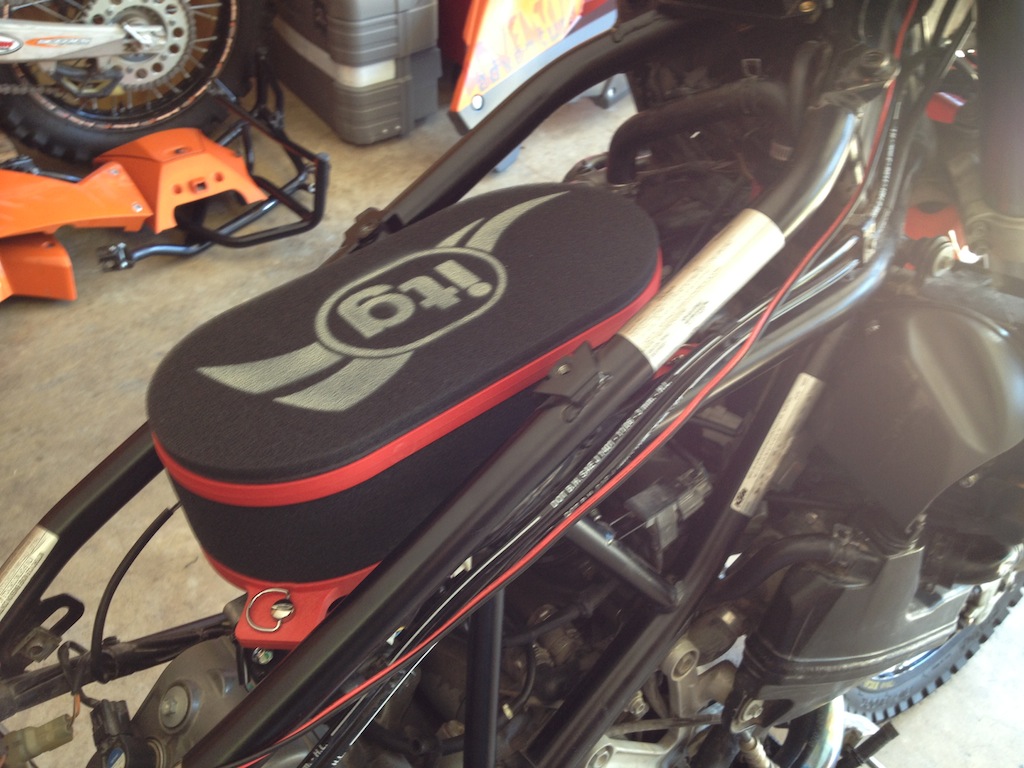
I wanted to check the clearance between the seat bottom and the rear edge of the filter.
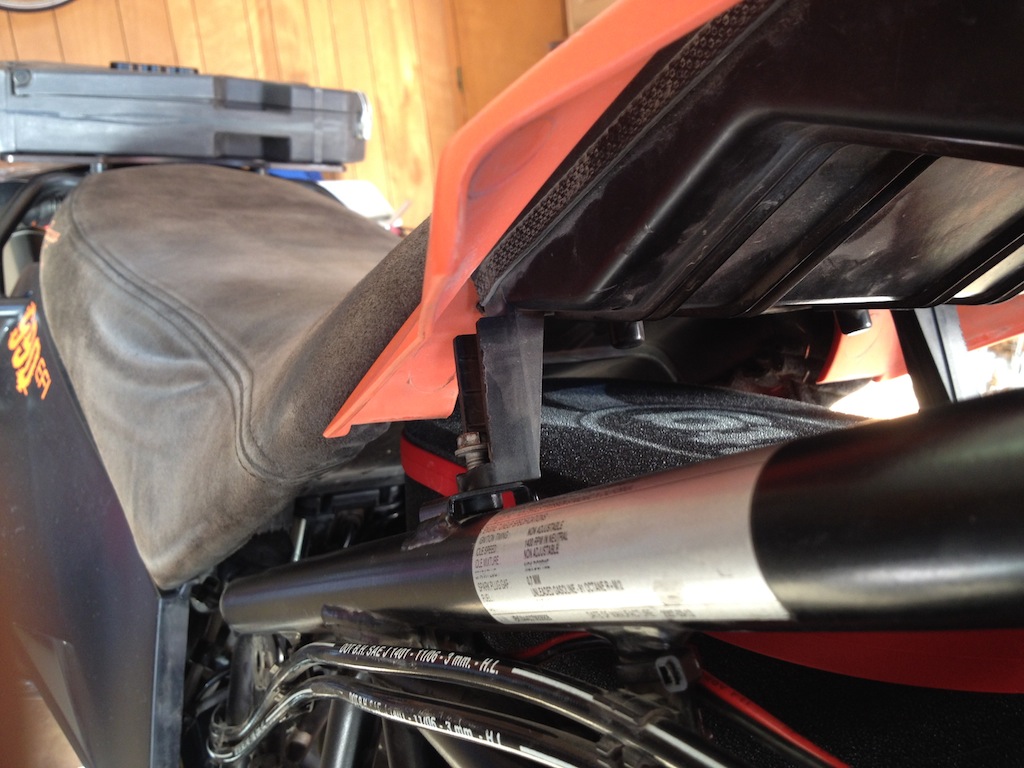
It's close, but the seat does not compress the filter top. Now put the tanks, and plastic bits and crash bars back on and ride. I need to find a source for filter skins to use on longer rides in dusty conditions.
I had already done the canister removal and SAS removal. If you have not done that, then you need to either do that or deal with where you will mount the SAS plumbing which used to be attached to the rear of the air box.
My bike has Wings cans with small size spark arrestors/DB reducers. Before installing the air filter, I ran the stock 2007 map and the bike ran well but border line lean giving around 44 MPG when running on pavement at speed. It will need another map to accommodate the new air filter. In a later post I will give some details of what I plan to do with TuneECU.